


How to add authorized IPs?
Proxies are authenticated through your computer IPs. Adding your IPs in the panel is the first thing that needs to be done as soon as you purchase your proxies.
- Login to the Dashboard
- Click on Account and then click on Authorized IPs
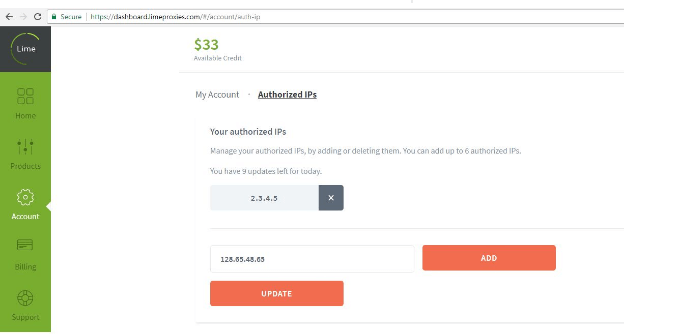
- Enter the IP address, click on “Add†and then “Updateâ€
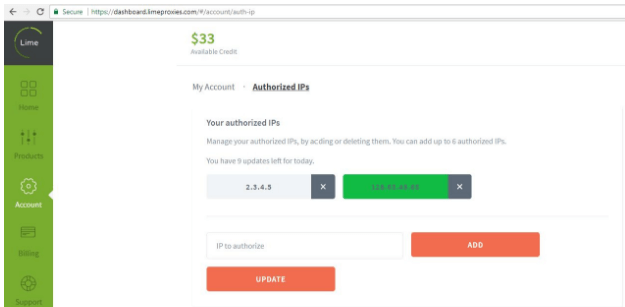
NOTE: Once the IP is authorized, wait for 30 minutes and use the proxy.
TL;DR
Last updated: March 2026. This tutorial for How to add authorized IPs? is refreshed with practical validation steps for modern proxy workflows.
2026 Quick Checklist
- Confirm protocol/auth method before testing.
- Validate endpoint reachability and DNS resolution first.
- Start with one session and verify expected IP output.
- Scale gradually and monitor timeout/CAPTCHA behavior.
- Keep a rollback profile for failed config updates.

