


How to use Limeproxies with Multilogin application?
Creating a browsing profile in Multilogin creates a completely separate virtual browsing environment. Cookies, local storage and other cache files become completely isolated and doesn't get leaked between profiles.
- Download and install Multilogin from here.
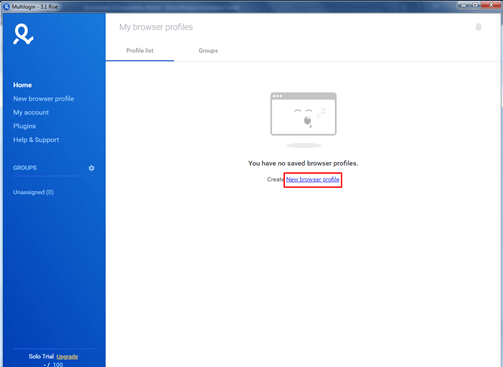
- Click on New browser profile
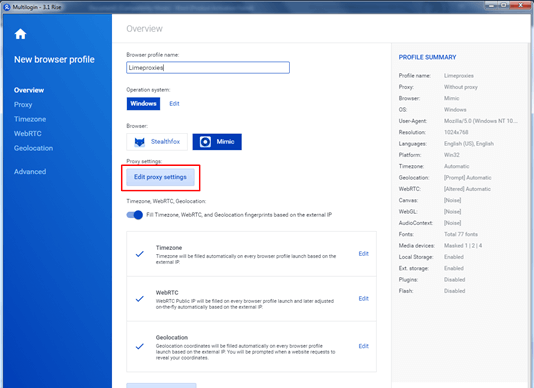
- Click on Edit proxy settings
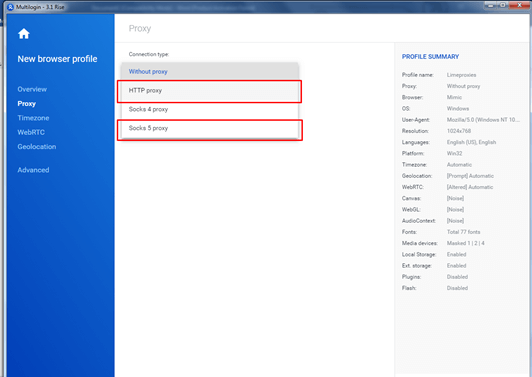
- Select Connection type as HTTP proxy or SOCKS5 depending on the proxy you have
- Enter New address as proxy IP and port. If you are using user-based authentication, enter proxy username and password under Login and Password section. Otherwise, leave them empty. After that, click on Check proxy
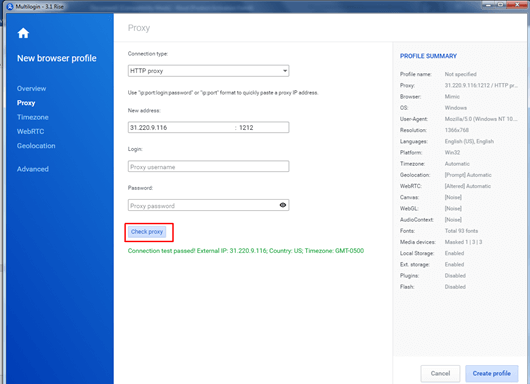
If the proxy is working fine, it will give a message as shown above. Then click on Create profile at the bottom.
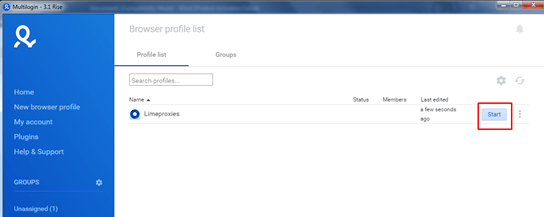
- From the Browser profile list, click on the profile you have created and click on Start
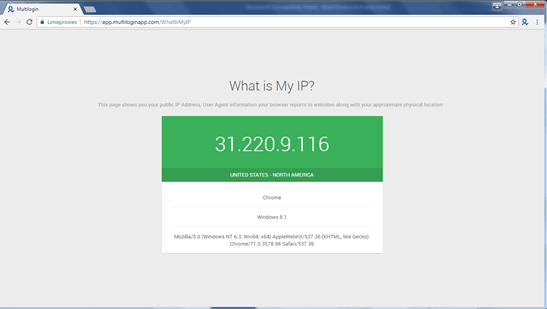
- A new browser will open automatically. The proxy IP will then be shown in a new window.
TL;DR
Last updated: March 2026. This tutorial for How to use Limeproxies with Multilogin application? is refreshed with practical validation steps for modern proxy workflows.
2026 Quick Checklist
- Confirm protocol/auth method before testing.
- Validate endpoint reachability and DNS resolution first.
- Start with one session and verify expected IP output.
- Scale gradually and monitor timeout/CAPTCHA behavior.
- Keep a rollback profile for failed config updates.

